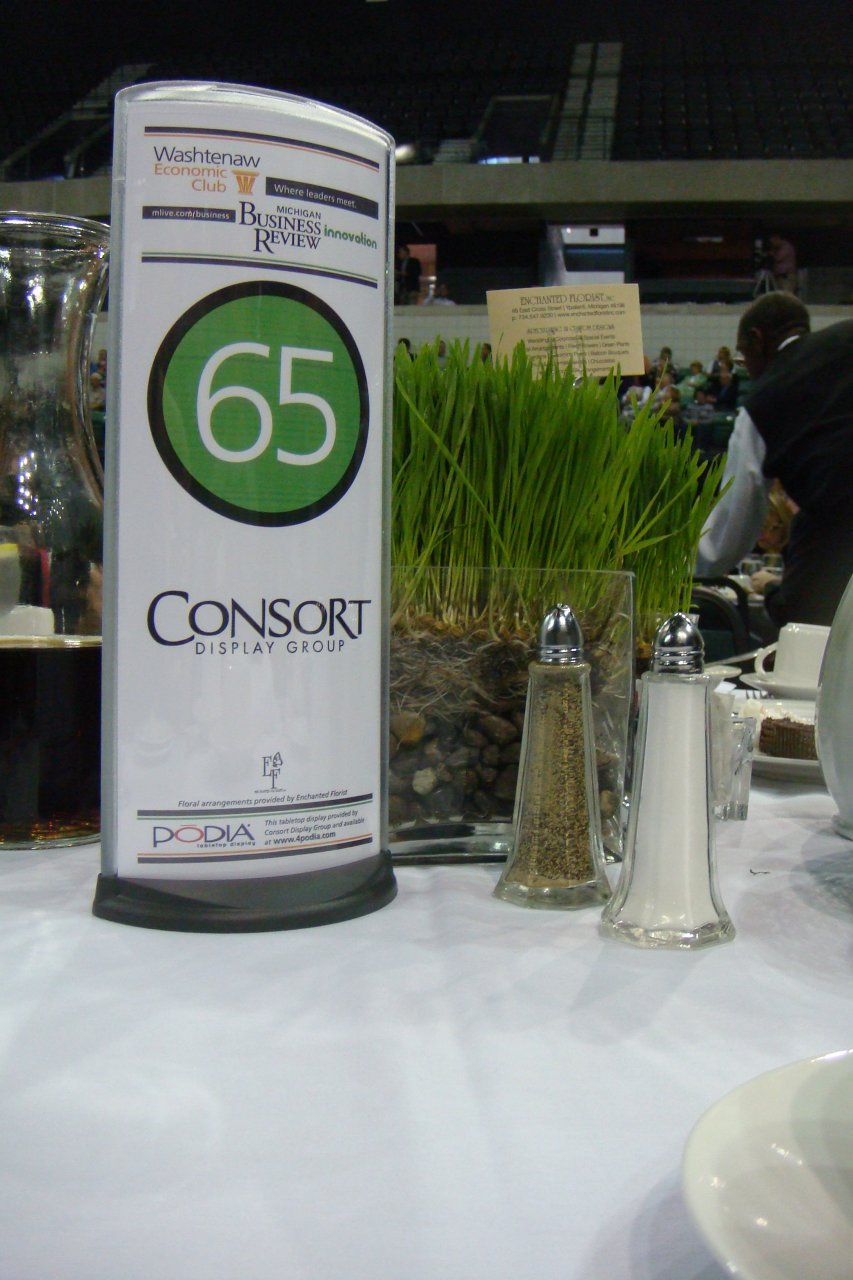
Here at Podia, we understand that our products have a reputation for reliability, easy use, and even easier cleaning. In fact, we trust our product so much that we’ve even run it over in a car just to see if it’ll break. It didn’t. Name another company who has that type of confidence in their product.
Anyway, we promise we’re not here just to brag. If you’re here and reading this, then chances are you already know about Podia’s incredible strength and robust design. Instead, we’re here today to talk about what goes inside your Podia displays.
In this month’s blog post, we’re discussing how you can design inserts for your own Podia displays at home.
3 Systems for Creating Podia Display Inserts
If you want to design your own insert, then the first thing you’ll need is a design program. If that sounds complicated, then don’t worry—it’s actually surprisingly easy. There are 3 programs that we generally recommend to our users: Microsoft Word, Canva, and the Adobe Suite.
Microsoft Word
If you don’t have much (or even any) graphic design experience, then you may be surprised at how useful Microsoft Word can be when creating a design. To make it even easier, we’ve actually created some sample templates that you can use for reference as you make your design.
Anyways, here’s a step-by-step guide for making your Podia display in Microsoft Word:
- Select “Page Layout” in the top menu bar.
- Click on “Columns”
- Click on “Two Columns”
- Click on “Margins” on the top menu bar.
- Click on “Custom Margins…” at the bottom of the menu that pops up.
- Make all margins .25 or larger, ignoring the option marked “Gutter”
And voila! Now, your Word document is set up for a front and back page of your Podia display.
Canva Design Software
This one is slightly more complex than Microsoft Word, but it’s still pretty intuitive to use and comes with many, many design options.
Despite being incredibly easy to use, Canva is an essential tool for marketers and graphic designers far and wide. That’s not even to mention it also comes with a free option!
Simply search “Canva” in your browser and it should be one of the very first options. From there, you can make an account for free. Setting up a design template for your Podia is pretty similar in most design programs, so we’re going to tackle it in-detail in the next section.
The Adobe Suite
If you already have the Adobe Suite, then you probably know what you’re doing already. Still, we understand that you don’t want to have to fiddle around with things if we can just tell you best practices from the get-go. Here’s what we recommend (and these same instructions go for Canva):
- Create a Single, 8.5”x11” page
- Set the top, bottom, and side margins to .25” or whatever lager margin you prefer.
- Set a .5” center margin to create two columns for text.
From there, simply create your design and print it out! All that’s left is to fold your printout at the center margin and insert it into your Podia Display!
Use Podia’s Custom Insert Design Service
If you’re not much of a graphic designer, then don’t worry. We at Podia offer a simple and affordable design service for your printouts. We charge only $25.00 for a standard project, and we even include a free set of minor revisions for any tweaks you may have.
For more information on our custom design service or to order your own Podia display, click here to contact us today!