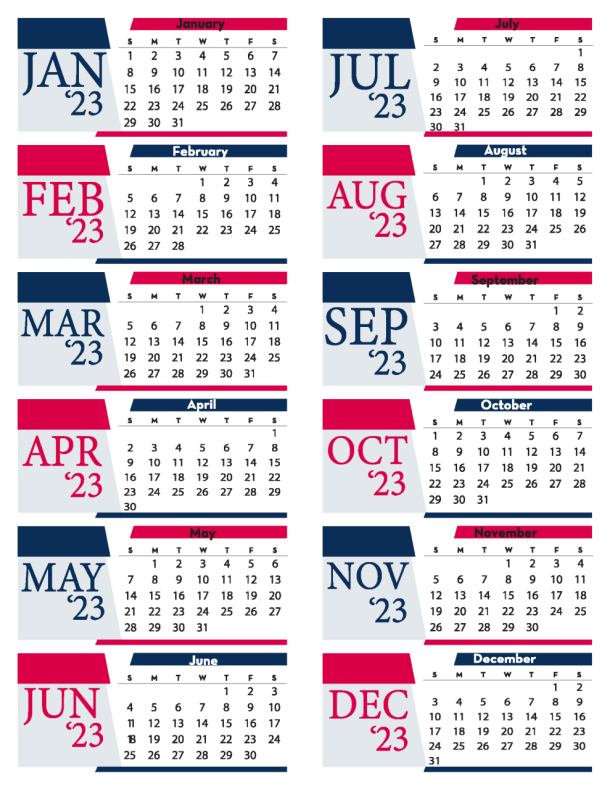
Podia Image Capsule Inserts can be easily created using Microsoft Word®. This word processing application also makes creating layouts with images, graphic headlines and body copy for Podia a snap.
First, select “Page Layout” on the top menu bar, then click on Columns, then click on Two Columns, then click on “Margins” on the top bar. Then, click on ”Custom Margins…” at the bottom of the choices. Make all of your margins .25 (or bigger if you like), ignore the “Gutter” option and you’re ready to go. The .25” settings will automatically give you a .5” center margin so that when you fold the printed paper you’ll have .25” around all sides of both sides of the paper.
It may take you a few minutes to get the feel for how MS Word takes the images – select (click) where you want the image or photo, click “Insert” on the menu bar above then choose where you want to find your image in your files – the same with blocks of text. You’ll be able to resize and reposition once it’s in the column. You’ll see how the data moves within the two columns and eventually you’ll get the hang of it!
Need great-looking images in a hurry? We suggest www.stock.adobe.com as a resources for inexpensive “get ‘em now” images. Or, want us to design your inserts? If so, click HERE.
Then, simply print, fold and insert the page into the Podia Image Capsule.


